I love Etsy. I mean, where else can you buy a grass prop blanket for your next baby photo shoot?
Sidenote: I'm sarcastic.
See below for some of my favorite Etsy finds (seriously).
Sukan Ikat Pillow Cover
Silver Ombre Glassses
Drill Pillow
Turquoise Beaded Urchin Chandelier
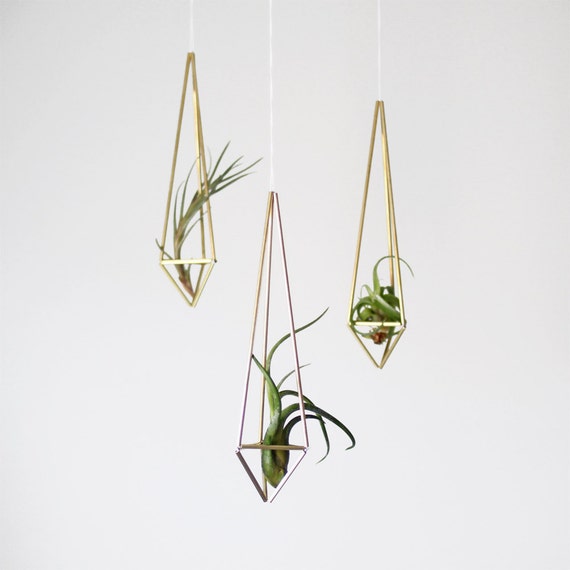
Brass Hanging Planter
Hand-painted Black and White Plate
Dessert Art Print Poster
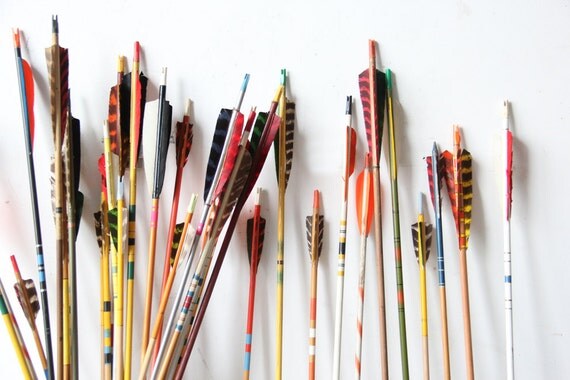
Vintage Arrow Collection
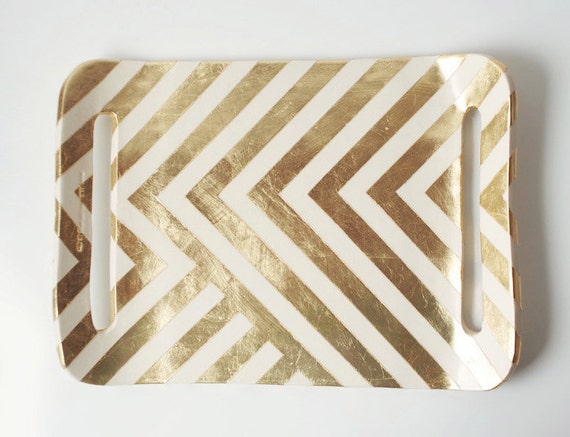
Gold Zag Tray
French Calves Photography Print
What are some of your favorite Etsy shops?
Showing posts with label lighting. Show all posts
Showing posts with label lighting. Show all posts
Wednesday, August 28, 2013
Wednesday, July 17, 2013
Shopping | HGTV Design Star
Are you watching HGTV Star? I am. Every Sunday. Religiously.
Some of the designs have been "meh." Many of them actually.
However, I did love Tiffany's design on the last challenge. I mean, there were a few things that were missing, but eclectic furniture and teal gets me every time. And lets be real. Her canvas was a school bus interior.
And by the way, I kind of want to be friends with Sabrina Soto.
A lot of the shopping scenes fly by, but this time I took careful note of where they went.
See below for the list, and next time you're in LA, go crazy!
Some of the designs have been "meh." Many of them actually.
However, I did love Tiffany's design on the last challenge. I mean, there were a few things that were missing, but eclectic furniture and teal gets me every time. And lets be real. Her canvas was a school bus interior.
| Photo Source: HGTV Star |
And by the way, I kind of want to be friends with Sabrina Soto.
A lot of the shopping scenes fly by, but this time I took careful note of where they went.
See below for the list, and next time you're in LA, go crazy!
- Tini
- Blu Dot
- Z Gallerie
- Lumber Liquidators
- Deco Home
- Flor
- Rolling Greens
- Urban Home
- Hye Lighting Co
- Ron Swing
- Anna's Linens
- Landon Cole
Friday, July 12, 2013
DIY | Solar Tiki Torches

There were a few surprises when we moved into our new home. Some good, some bad.
The padlock on the outside of the master bedroom? I'll go with bad. And creepy (our house is not haunted, our house is not haunted, our house is not haunted).
The outdoor chimney? All good.
The tiki torches? At first glance, bad. But when the junk haulers came, I clang. They had potential. I'm not a hoarder. I promise.
Tikis can seem a bit thematic and when they aren't in use, the lack of function drives me a little crazy.
So my solution? Turn the everyday tiki into a solar lamp and add some low maintenance succulents. Part vertical planter, part solar light. And the best part is that I can easily remove the solar lights and add back the tiki fuel for our next backyard BBQ.
(Want to skip the DIY and buy direct? Check out these solar Tikis from Amazon.)
I wanted a more rustic feel, but you can modify color and twine to fit your taste.
Total Time: 2 hours
Materials:
1. Old tiki torches (or use new torches and avoid the spray paint)
2. 2 cans of spray paint of your choosing (this allowed for two+ coats on five torches)
3. Drop cloth
4. Twine (want color? switch to yarn or washi tape!)
5. Solar lights
6. Plants (I grabbed extra succulents from my front yard)
7. Plant basket liner and some soil

Instructions:
Remove oil canisters
Spray paint both sides of tiki torches. I used about two cans for five torches.
Knot twine and begin to twist around torch's pole.

When you have the coverage you want, tie the end of the twine to the beginning knot. Trim as necessary. Repeat as needed. I added more twine to the top portion.
Cut a small piece of the basket liner and shape into a cup.

Push the liner down into the base of the tiki. It doesn't need to stay in an exact cup as long as it will hold some dirt for the succulent. Put the succulent root through the bottom part, on top of the liner material. Add dirt and push the light down.
More succulents to be added this weekend, but you get the idea.
Voila! Please excuse our yard. It's under construction.
Subscribe to:
Posts (Atom)
